Bread From Scratch Is a Learnable Kitchen Skill
Making bread from scratch can feel intimidating because dough is alive in a way most recipes are not. It rises faster in a warm kitchen, slower in a cool one, and changes texture as flour hydrates and gluten develops. But beginner bread does not require professional instincts. It requires a simple recipe, patience, a few visual cues, and a willingness to let the first loaf teach you something. Once you understand mixing, kneading, rising, shaping, baking, and cooling, homemade bread becomes a repeatable process rather than a mystery.
A: A simple sandwich loaf, basic rolls, focaccia, or no-knead bread is a good start.
A: The yeast may be old, the liquid too hot, or the room too cold.
A: Yes, many beginner breads can be kneaded by hand.
A: It can be slightly tacky, but it should become smoother with kneading.
A: The dough should look larger, puffy, and soft.
A: Not always; all-purpose flour works for many beginner loaves.
A: Cooling lets the crumb set and prevents gumminess.
A: Sometimes a little water and rest can help, but prevention is better.
A: Many beginner loaves take a few hours including rises.
A: Try rolls, pizza dough, focaccia, whole wheat, or a slow refrigerator rise.
Start With a Simple Yeast Bread
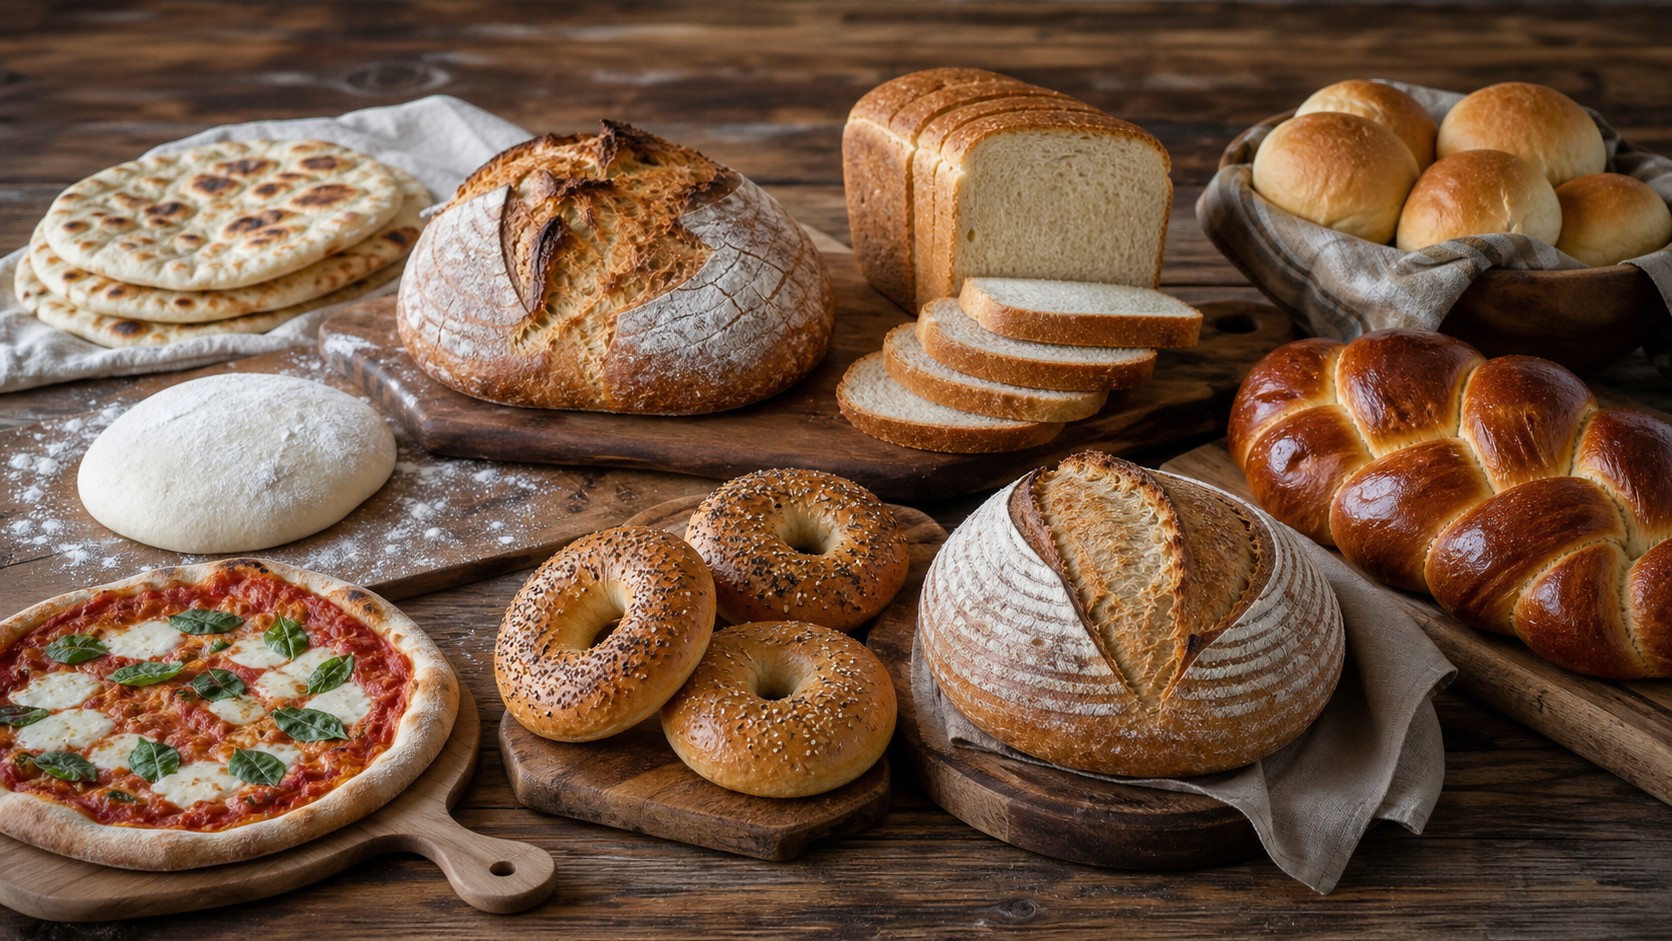
A beginner should start with a straightforward loaf: flour, water or milk, yeast, salt, and maybe a little sugar or oil. Sandwich bread, basic rolls, and simple no-knead loaves are good choices because they teach the main bread stages without too many complications. Avoid highly wet doughs, sourdough, laminated dough, or heavily filled bread for the very first attempt unless you enjoy a challenge. A simple loaf gives you clearer feedback.
Read the recipe all the way through before starting. Bread recipes often include waiting periods, and those waits matter. You do not want to discover at 8 p.m. that the dough needs a long rise and then shaping before baking. Notice whether the recipe calls for instant yeast, active dry yeast, bread flour, all-purpose flour, a loaf pan, a Dutch oven, or a mixer. Beginner success improves when the process fits the tools and time you actually have.
Choose a day when you can check on the dough occasionally. You do not need to stare at it, but you do need to be present enough to notice when it has risen. Bread is forgiving, but it likes attention at the transition points.
Understand the Ingredients Before Mixing
Flour provides structure. All-purpose flour works for many beginner loaves, while bread flour creates a chewier, stronger dough. Water or milk hydrates the flour and allows gluten to form. Yeast creates gas that makes the dough rise. Salt gives flavor and helps control the dough. Sugar can help browning and feed yeast in some recipes, though yeast can also feed on flour. Fat such as oil or butter makes bread softer and more tender. Measure carefully, especially at first. Too much flour is one of the most common beginner problems because it makes dough stiff and bread dense. If measuring by cups, spoon flour into the cup and level it rather than scooping hard from the bag. If you have a scale, use it. A scale makes bread much more predictable.
Temperature matters. Warm liquid can help yeast wake up, but hot liquid can damage it. If you are using active dry yeast, the recipe may ask you to dissolve it first. Instant yeast can usually be mixed directly with flour. If the dough rises, the yeast is working. If it sits completely still for a long time in a reasonably warm place, the yeast may be old or the liquid may have been too hot.
Mix and Knead Without Panic
At first, dough may look shaggy and uneven. That is normal. Mix until no dry flour remains, then give the dough a short rest if the recipe allows. Rest helps flour absorb water and makes kneading easier. Kneading can happen by hand or with a mixer. By hand, push the dough away, fold it back, turn it, and repeat. The dough should become smoother, more elastic, and less ragged over time.
Do not add too much flour just because the dough is a little tacky. Some stickiness is normal, especially early. Lightly flour the counter or your hands, but avoid turning a soft dough into a dry one. If the dough is truly unmanageable, add flour a spoonful at a time. If it is only tacky, keep kneading and give it time.
You do not need a perfect windowpane test for a beginner loaf, but you should notice the dough becoming cohesive. It should stretch more than it tears, feel alive under your hands, and hold together as a ball. Kneading is less about force and more about repetition.
Let the Dough Rise by Looking, Not Guessing
The first rise, often called bulk fermentation, lets yeast create gas and flavor. Many beginner recipes say to let dough rise until doubled. That instruction is useful, but the time can vary widely. A warm kitchen may double dough quickly. A cool room may take much longer. Put the dough in a lightly oiled bowl, cover it, and let it rise in a comfortable place away from drafts. Look for volume, puffiness, and softness. If the dough has barely changed, it needs more time. If it has risen dramatically and feels fragile, it may be over-proofed. Most beginner loaves can tolerate a little imperfection, so do not panic. With each loaf, you will get better at noticing readiness.
If your kitchen is cold, use patience rather than excessive heat. A slightly warm oven that is turned off, a microwave with a mug of hot water beside the bowl, or a warm corner can help. Do not place dough somewhere hot enough to cook or weaken it.
Shape the Loaf Gently and Clearly
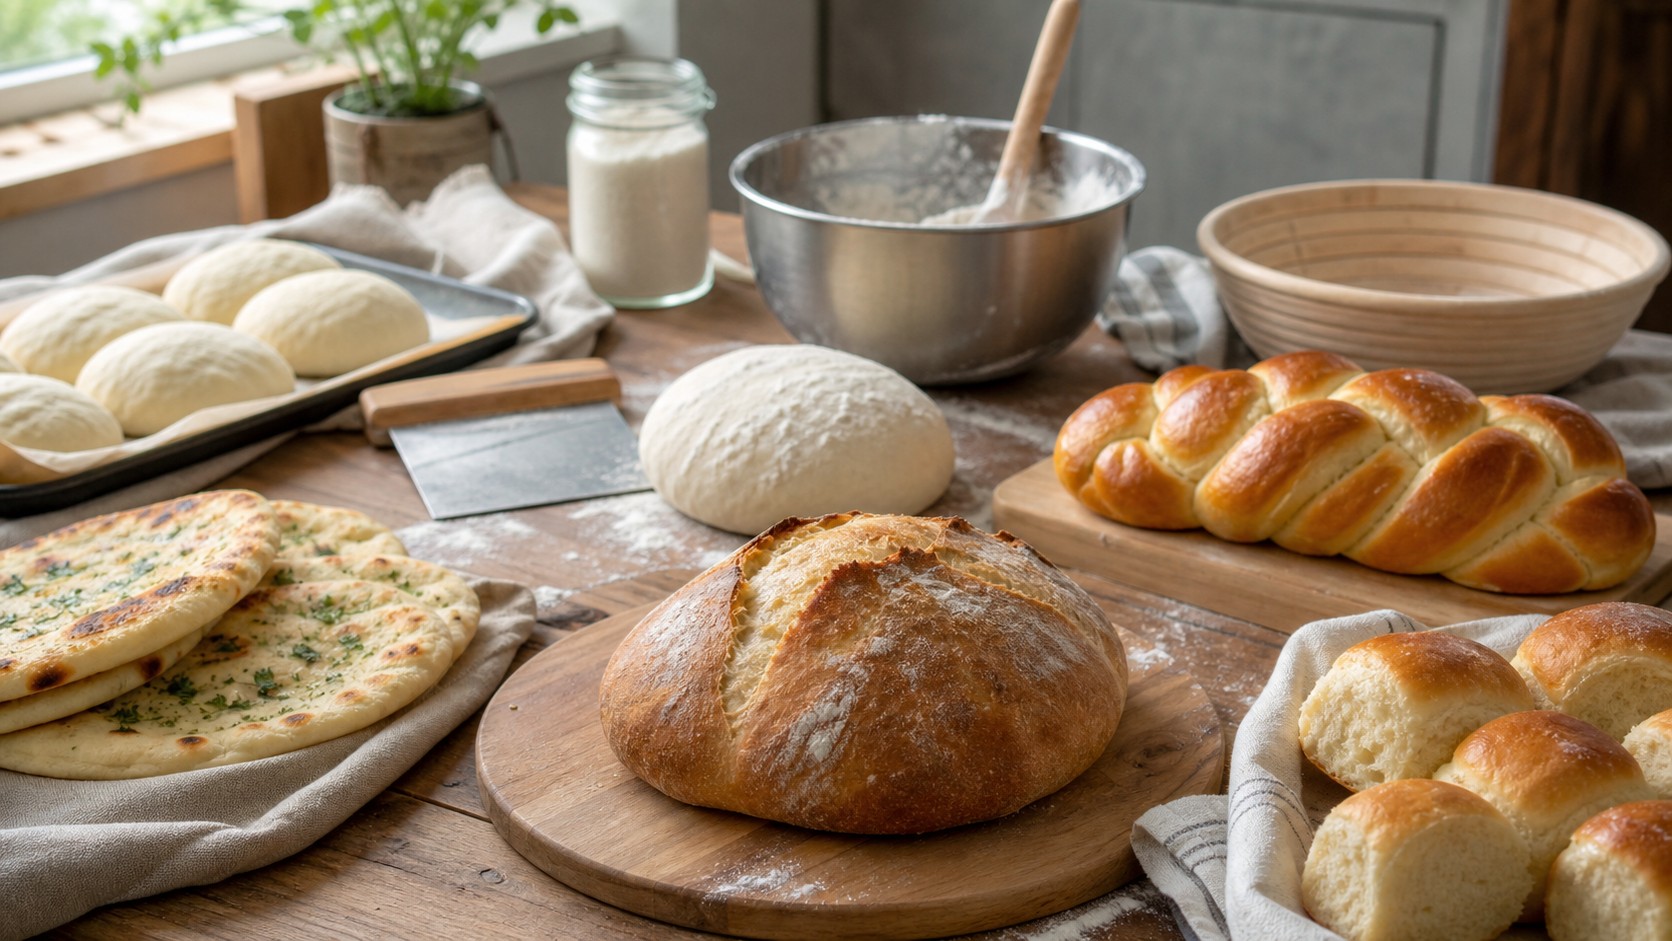
After the first rise, press or fold the dough gently to release large gas pockets. Shape according to the recipe. For a sandwich loaf, pat the dough into a rectangle, roll it up, pinch the seam, and place it seam-side down in a greased pan. For rolls, divide the dough into even pieces and shape them into tight balls. For a round loaf, gather the dough toward the bottom to create surface tension.
Shaping gives the dough direction. A loose shape can spread instead of rising upward. Too much rough handling can knock out all the air. The goal is firm but gentle structure. If the dough resists, let it rest for ten minutes and try again. Dough relaxes with time.
The second rise happens after shaping. This final proof should make the loaf puffy before baking. A pan loaf should rise near the rim or above it depending on the recipe. Rolls should look soft and expanded. Under-proofed bread may burst unpredictably; over-proofed bread may collapse. Beginner bread usually survives small mistakes, but watching the dough helps.
Bake Until the Bread Is Truly Done
Preheat the oven fully. Bread needs heat from the start so it can rise, set, and brown properly. Bake until the loaf has good color and sounds hollow when tapped, or use an instant-read thermometer if you have one. Many lean breads are done around 190 to 210 degrees Fahrenheit internally, while enriched breads vary by recipe. Pale bread is often underbaked and may taste flat.
If the top browns too quickly, tent loosely with foil. If the loaf seems done outside but gummy inside, it may need more baking time or more cooling time. Remove pan loaves from the pan after a short rest so the sides do not steam too much. Cool bread before slicing, even though that is the hardest part. Cutting too early can make the crumb seem wet and compressed.
Troubleshoot Without Discouragement
Dense bread can come from too much flour, under-kneading, under-proofing, weak yeast, or underbaking. Flat bread can come from over-proofing, weak shaping, or too much liquid for the structure. Tough bread often means too much flour or too much handling after the dough has risen. Bland bread may need more salt or longer fermentation. Gummy bread may need more bake time or cooling.
Every loaf gives information. Write down what happened: how the dough felt, how long it rose, how warm the kitchen was, and what the finished bread was like. Bread baking rewards noticing. Your second loaf will already be smarter because your hands and eyes will recognize more than they did the first time.
Try to identify one likely cause instead of blaming the whole recipe. If the dough never rose, look at yeast and temperature. If it rose well but baked dense, look at shaping, proofing, or bake time. One clear adjustment makes the next loaf less intimidating.
Let the First Loaf Be a Beginning
Making bread from scratch is not about producing a bakery-perfect loaf on the first try. It is about learning a process that becomes more familiar each time. Start simple, measure carefully, avoid adding too much flour, watch the rise, shape gently, bake fully, and let the bread cool. Those steps can carry you through many beginner recipes.
Once the first loaf works, you can change one thing at a time: try bread flour, add whole wheat, use milk, make rolls, shape pizza dough, or let dough rise overnight in the refrigerator. Bread confidence grows through repetition. The reward is not only fresh bread; it is the feeling that flour, water, yeast, and time are now tools you understand.
Even a flawed first loaf can be useful. Toast it, turn it into croutons, serve it with soup, or learn from the crumb. Bread baking becomes much friendlier when mistakes are treated as food with notes attached.
Beginner bread is successful when it makes you willing to bake again. That willingness matters more than a perfect dome or crumb, especially at first, truly enough today.
Make Your Kitchen Work for Bread
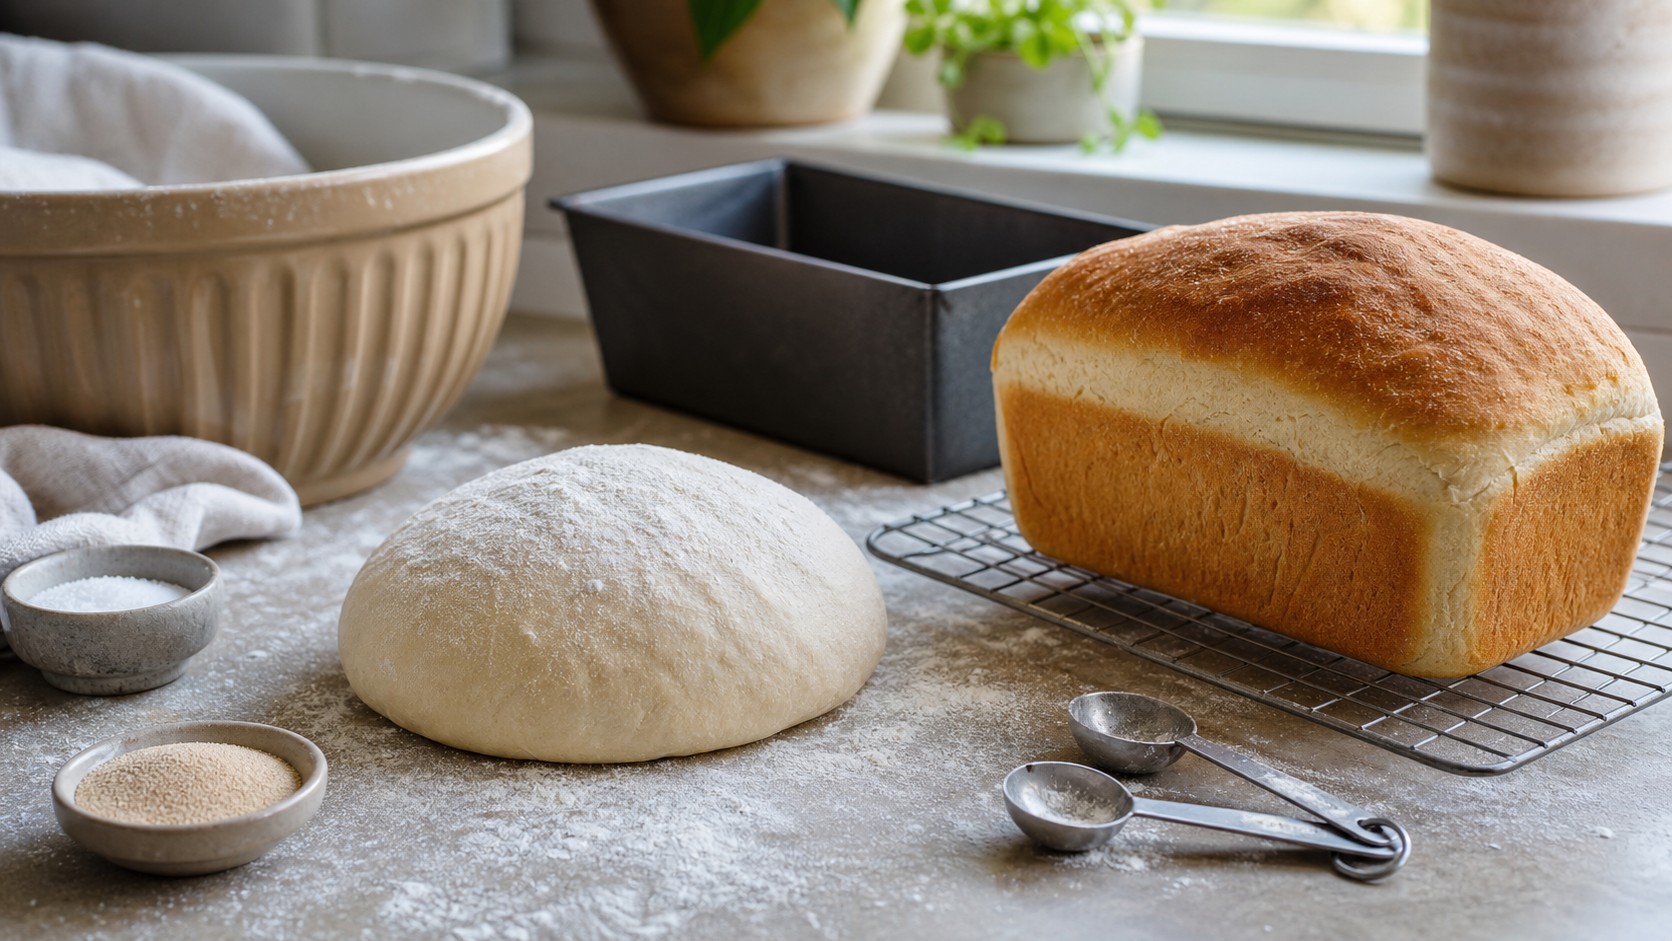
A beginner does not need a professional setup, but a little organization helps. Clear a counter before mixing. Set out flour, yeast, salt, liquid, measuring tools, bowl, pan, and towel. Choose where the dough will rise before your hands are sticky. Grease the pan before shaping. Put a cooling rack somewhere safe before the loaf comes out of the oven. These small steps make bread feel calmer because you are not solving every detail at the exact moment you need it.
Temperature is part of the kitchen setup. If the room is cold, expect a slower rise. If the room is warm, check the dough earlier. If the oven runs hot, watch browning. If your loaf pan is dark metal, it may brown faster than glass. Beginner bread improves when you notice the kitchen as part of the recipe. The same dough can behave differently in different rooms, seasons, and pans.
Practice With the Same Recipe Twice
The second loaf teaches more than the first because you have something to compare. Maybe the dough was too dry, so you use a little less flour. Maybe the first rise took longer than the recipe promised, so you plan more time. Maybe the crust was pale, so you bake a few minutes longer. Repeating one beginner recipe turns vague advice into personal knowledge. You begin to understand what the dough should feel like in your own hands. This is why a simple bread recipe is so valuable. It gives you a stable base for learning. Once you can make it reliably, you can branch out with confidence. Add seeds, use part whole wheat, make rolls from the dough, or try a slower rise. Bread from scratch becomes easier when each loaf builds on the last one instead of starting from zero.